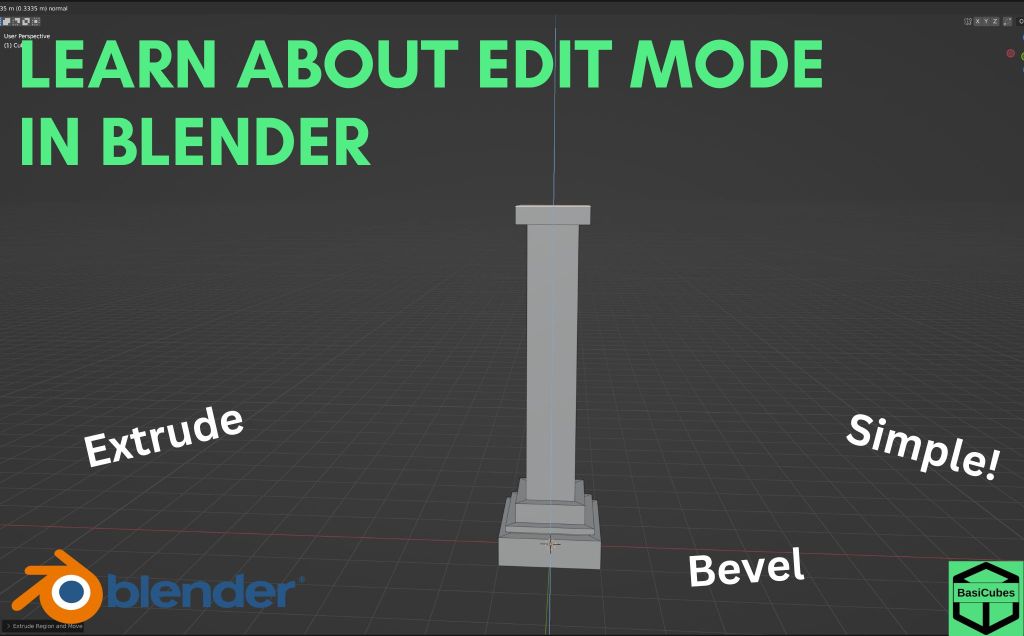
Hello everyone welcome to blender Basics. Today I’ll be teaching you about the tools in edit mode.
Edit Mode Navigation
To enter into edit mode press tab. If you click three you’ll be able to select the faces. If you click two you’ll be able to click the edges. If you click one you’ll be able to click the vertices. You can select multiple Faces by clicking three and pressing shift to click new faces. You can do the same with edges and vertices.
Edit Mode Transformations
You can move rotate and transform the edges the faces and the vertices. We will start with the faces.
Face Transformations
Move
Click the top face and you can move this by pressing “g”. You can freely move it. You can press “z” to move it directly on the Z or the Y or the X.
Rotate
You can also rotate this by clicking “r” and you can rotate it just freely or you can say Z or X or Y.
Scale
You can also scale this by pressing “s”. You can scale this on the Y or the X but the Z will not work
Edge Transformations
Move
Next up is the edges. Select an edge by using “2” and you can move this around the z-axis the y-axis or the x-axis.
Scale
You can also scale this, however only on the y-axis for this one. Or the x-axis here. Or the z-axis here
Rotate
You can also rotate by clicking “r”. You can free rotate or you can click Z or X, however Y will not rotate here. As our Z will not rotate here and X will not rotate here.
Vertex Transformations
Finally we have the vertices. Click one 1 and click a vertex. This vertex will not rotate or scale but it can move around. You can click X, Z, and Y.
Useful Tools in Edit Mode
There are many other useful tools in blender. You can go into edit mode and click “3” for face selection.
Extrude
You can then press “e” and it will extrude the face. You can also click “2” and extrude the edges. And “1” for extruding the vertices.
You can do some interesting things with this. You can press “e” and scale it out. Then you can press “e” to extrude it out. And you could do another extrude and scale it in, and extrude. Now you have some interesting object
Bevel
Another interesting tool that you can use is the bevel. This only works on edges. So select an edge and press “Ctrl” + “b”. This will add a bevel. You can scroll on your mouse wheel to add more cuts or less cuts.
Loop cut
Finally we have the loop cut. Press “Ctrl” + “r” and you can hover over the faces until you find one that you like. Then you can scroll on your mouse wheel and this will give you more cuts. Once you have the amount that you like, click down and you can move with your mouse. This will control where your loop cuts will go. Once you’re done you can just click down and you have your cuts.
Creating Simple Object with Edit Mode
You can make some simple objects using the edit tools.
Icecream
You can make a cone. Then you can flip it on the y-axis by 180 degrees. Next make a UV Sphere and move it up by one. Then you can go to the gizmos click X and press Tab. Normally you would have to select everything individually, but there’s a shortcut. You can press “Alt” + “z” and this will send you to x-ray mode. You can now drag select all the faces. You would delete and click “x” and faces.
Now you have a simple ice cream cone.
Pillars
Using edit mode you can make pillars. You can create a plane. Go into X on the gizmos and now you can go into edit mode. Make sure you’re on faces and now you can start extruding and scaling

Leave a comment