
How to Animate in Blender, the Basics
Animation is moving or changing an object over time. In Blender, these objects can be animated in three main ways. The first way is by moving the whole object: changing the position, deforming the mesh, or by moving the object through inheritance.
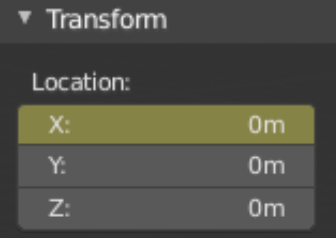
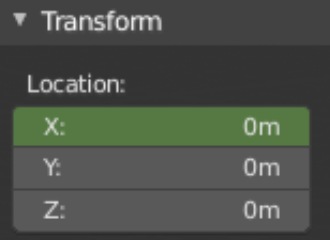
What do the different colors mean?
Key framed on the current frame
Key framed on a different frame
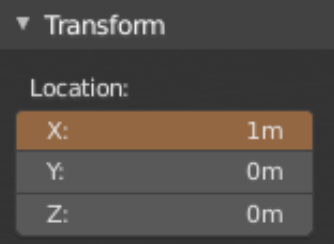
Different value than key framed value
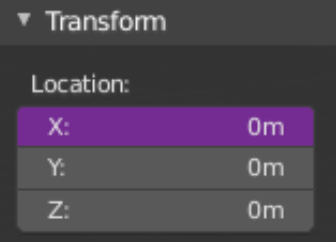
Value is controlled by driver
What is a Keyframe
Keyframes are markers of time that hold the values of certain properties, such as location, rotation, and scale. However, it can hold so much more than simple transforms.
What are the Transforms in Blender Animation
After moving, rotating, or scaling the object to your liking, pressing “i” while hovering over the values will place a keyframe.
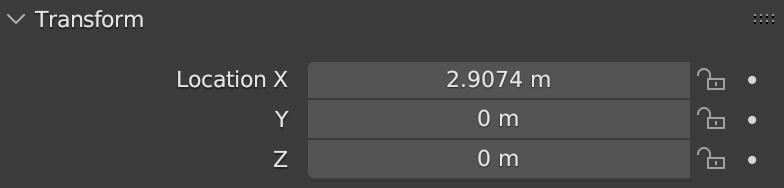
Hover mouse over the light grey boxes
Press “i” to add in keyframes

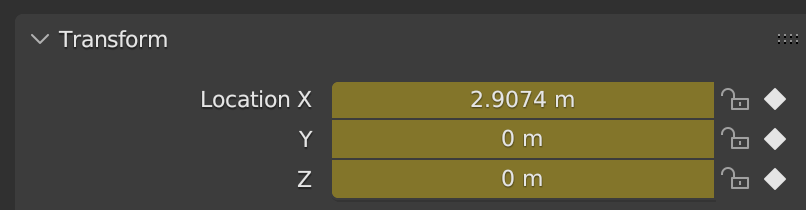
Another method to add in keyframes is to simple click on the white dot next to the lock symbol. This is used to add in a single keyframe instead of all three.
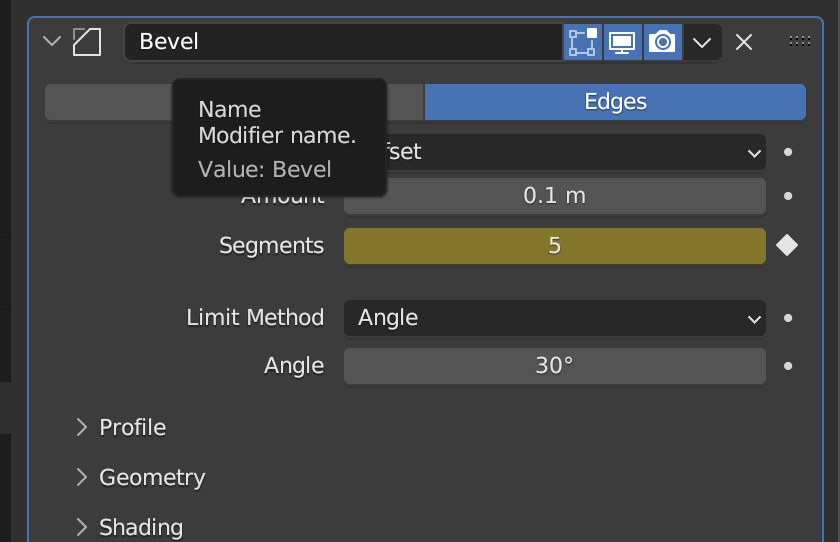
Other Values
Keyframes can also be added in modifiers, particle systems, physics, constraints, materials, and much, much more. Keyframes can be added similarly to transforms, by clicking “i” or on the white circle.
Visualization of Keyframes
While animating, it is important to visualize the keyframes. The best place to visualize this is the timeline. The timeline gives you an overview of your animation. It accomplishes this by showing the current frame, the keyframes on the selected object, as well as any markers set by the user.

Additionally, there is the graph editor. This is much more complicated version of the timeline, but allows for greater control. Using “F-curves” (interpolation), you are able to create much more controlled animations.

What is Interpolation in Blender
Interpolation is the “inbetweening”. In other words, the filling of frames between key frames. There are four main types: constant, linear, quadratic/bézier interpolation.
What is constant interpolation
Constant interpolation provides no interpolation at all. This type of curve will hold on to the value of the last keyframe. This creates a distinct stairway-like curve. Constant interpolation is used mainly during the initial blocking out phase of animating.

What is Linear interpolation
Linear interpolation provides a straight segment. This provides a continuous movement at a steady pace(linear). This is useful when only using two keyframes

What is Quadratic interpolation
Quadratic interpolation provides a smooth curve. This is achieved by accelerating and decelerating smoothly over time. Quadratic interpolation is best for realistic movements.

Bézier interpolation is simply a more flexible and versatile version of the quadratic interpolation. Bézier curves allows you to adjust the steepness and direction of the curves.

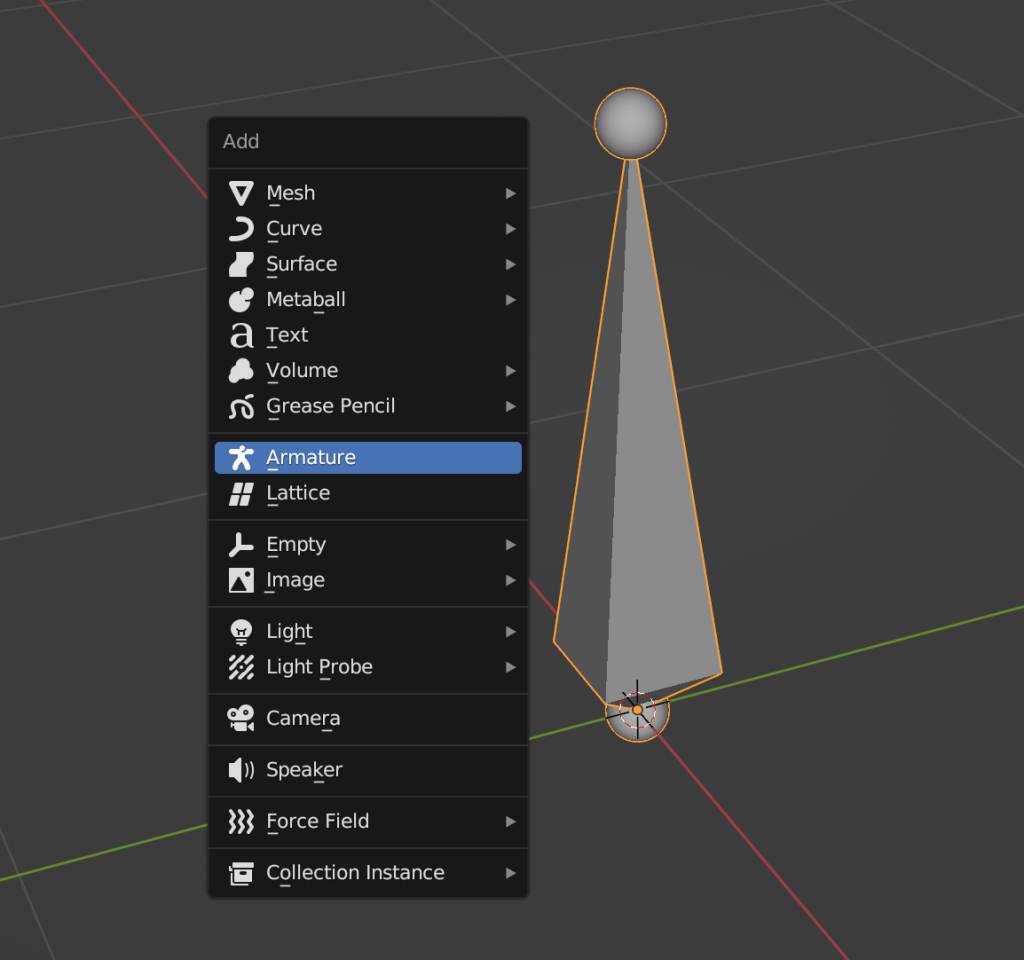
What is Rigging in Blender
Rigging is used to control objects for animation. By creating a digital skeleton or armature, you can control the movement and deformation of a 3D object. This allows for animations such as walking, running, or facial expressions.
What are Bones in Blender
What are Bones
Bones are the basic components of an armature (rig). They function as control points for both deforming or moving an object. These bones can be categorized into two types: deforming and control bones.
Deforming bones: When these bones are transformed, nearby vertices will move in the same way, affecting the position of vertices associated with their bones.
Control bones: When these bones are transformed, they act as switches or controllers, influencing the behavior of other bones. It is important to note that the bones do not alter the position of vertices.
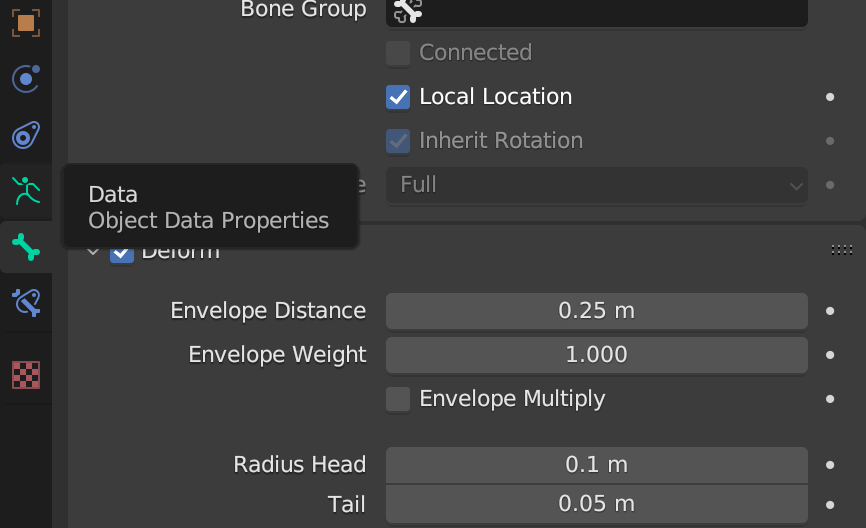
Bones consist of 3 main parts: the tip, the body, and the root. Pressing “tab” allows you to edit the bone. The tip and the root are used to define the size and position. The envelope distance helps determine range of influence, while the envelope weight determines the strength of a bone’s influence when a vertex is shared by multiple bones.
Conclusion
To summarize, Blender’s animation process includes, but not limited to, keyframing, interpolation, and rigging. These fundamental skills equip animators with a versatile toolset to bring their creations to life. Keyframes define movements at specific times, visualization enhances the artist’s ability to see the big picture, interpolation provides smooth transitions, and rigging allows for control over models. Blender’s versatility provides something for animators of all levels, solidifying its position as a go-to choice for creating compelling animations.

Leave a comment