
How to Create Light Rays with Shaders
Procedures
1. Create a plane, this will be easiest to work with. Move, scale, and rotate to fit your window.
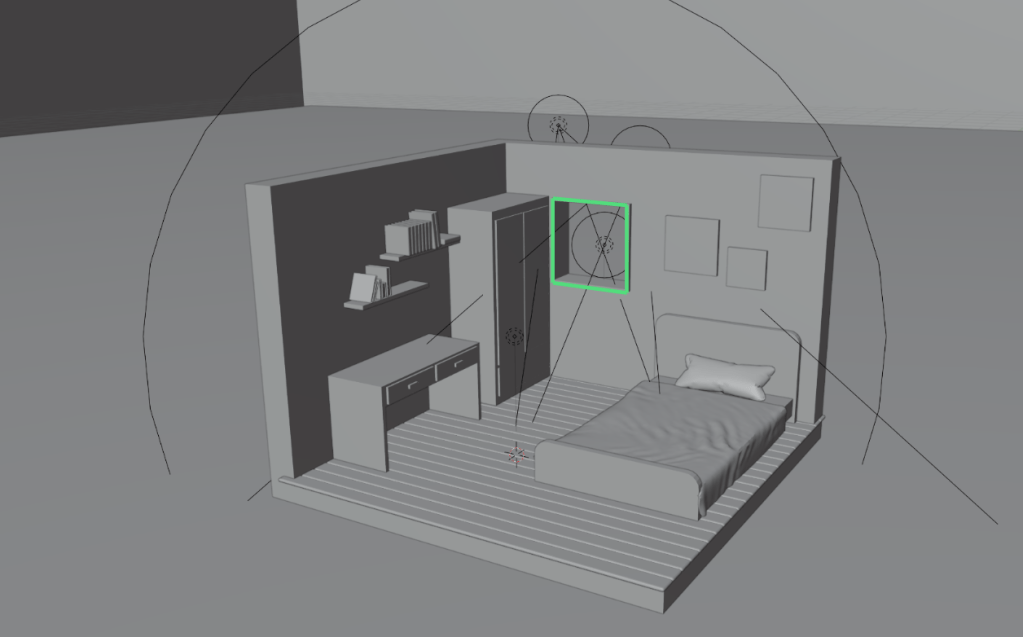
2. Extrude the face out and move it down. From there you can scale and rotate to your liking
3. In the shader editor, create a new material.
4. Remove the Principled BSDF. Replace it with an emission node and connect it to the volume output.
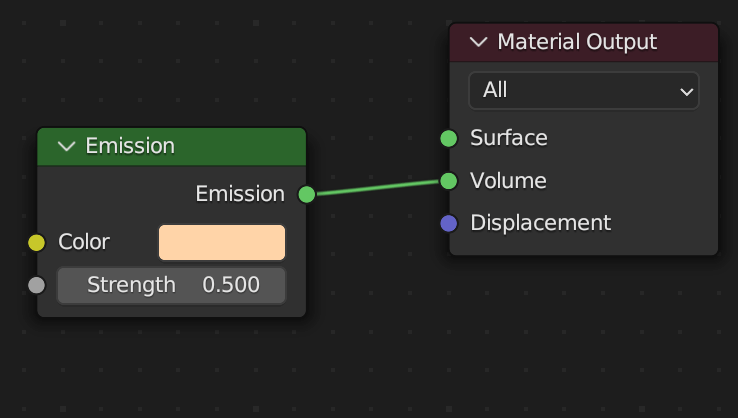
5. Adjust the strength of the emission node. The lower the value, the less solid the ray is.
6. Make sure the color of the emission node is the same as the scene’s light source.
How to Create Light Rays with Compositing
Procedures
1. Create or open a scene with a light source. Make sure the light source is visible by the camera.
2. Open up the compositor. Split the screen by right clicking on the edge of the compositor and the right panel.

3. Add in Sun Beams and a Color Ramp node. Connect the nodes up like so. This will act as the mask for the sun beams.
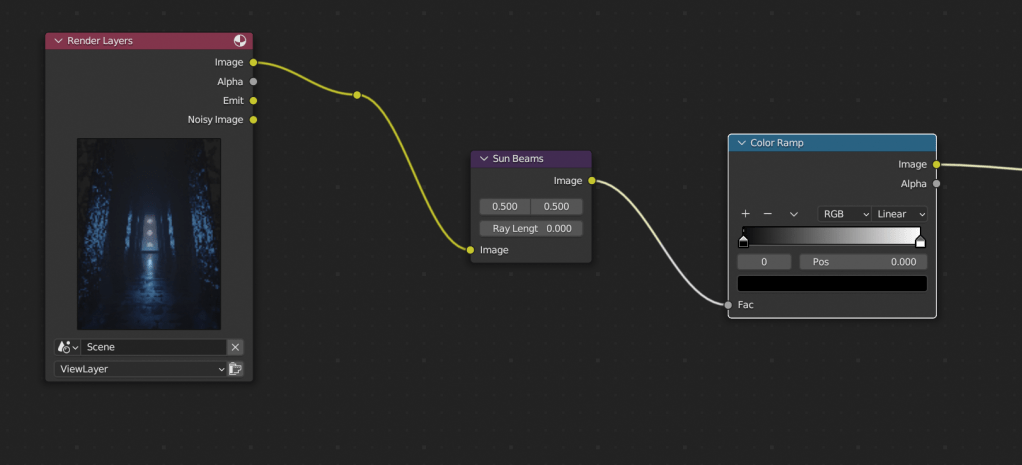
4. Adjust the x and the y position to the center of your light source. Change the Ray length to 1. but you can shorten it to your liking.

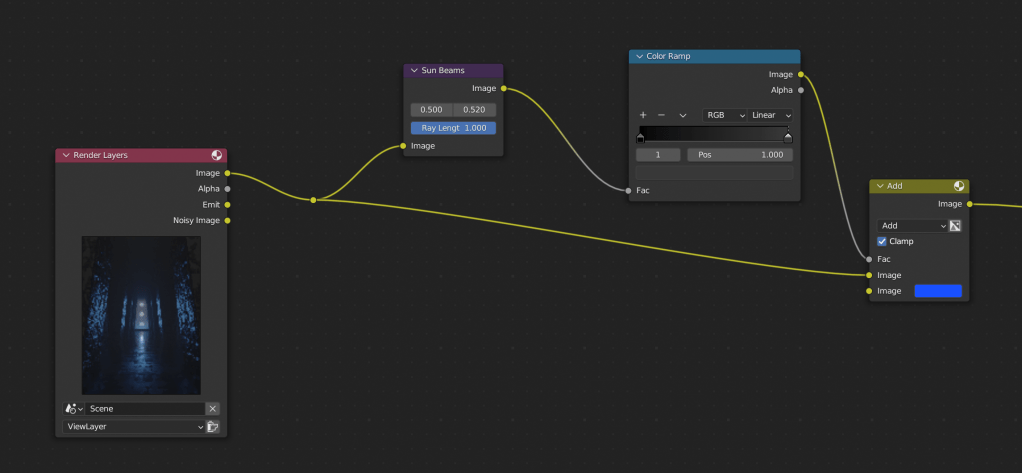
5. Add in a mix node
- Plug in the sunbeam mask into the factor
- Plug the raw image into the top layer
- Set the 2nd image to the same color of your lighting
6. Add any other effects such as glare, denoise, and color balance.
Learn more about the compositor: link

Leave a comment