
What are the Primitives in Blender
The first object is obviously the cube. You’ve likely seen the memes about this six-faced shape, often deleted and then promptly re-added. Cubes serve various purposes, such as forming boxes, crates, or providing a starting base in architectural design.
The second object is a plane, which is just a square. Planes are primary used as floors in architecture, as ground surfaces in landscape, and as backdrops in motion graphics.
The circle has three types, although most only use the N-gon and nothing. The N-gon setting creates a filled-in circle, ideal for circular architecture elements like pillars or fountains. The nothing setting creates an outline of a circle, essentially a perimeter or boundary. This is great for tubes and tunnels.
There are two sphere types in Blender, each having their own purpose. The UV Sphere is composed of quads and is well-suited for texturing. The Icosphere consists of triangles in a uniformed manner. The main use of an icosphere is to create captivating motion graphics using geonodes or animations.
The final object is the cylinder, any prism shape, whether a cylindrical or triangular, among others. The main use of cylinders is for the creation of pillars, pipes, or trees.
Manipulating Primitives in Blender
The shortcuts for basic transforms in Blender are “g” to move, “r” to rotate, and “s” to scale. You can lock transformations along a specific axis by pressing the “x”, “y”, or “z” keys. To disregard a specific axis while transforming, hold down “Shift” along with the axis key.
To delete objects in Blender, simply press “x”. To join objects, select all the object to be joined and press “j”. To shade smooth an object, select it, right click, and choose shade smooth. Shade smooth is primarily used to soften out sharp edges.
To change the origin of an object in Blender, start by selecting the object you wish to adjust. Right click to bring up a menu and choose set origin. You’ll be presented with four options for origin settings. Geometry to Origin moves the model to the origin of the scene. Origin to Geometry shifts the origin of the model to the center of the geometry. Origin to 3D cursor moves the origin to the position of the 3D cursor. Finally, Origin to Center of Mass moves the origin to the center of mass. These potions provide a quick and flexible way to position objects for modeling or animation needs.
Mesh Editing
What is Edit Mode in Blender
Edit mode is the destructive way of altering the object’s shape by manipulating the vertices, edges, and faces. This method makes changes irreversible. This mode is the primary area of focus for 3D modelers working in Blender.
How to select in Edit mode
There are three different selection types: vertex, edge, and face. You can switch between these modes by pressing “3”, “2”, or “1” on your keyboard, representing vertex, edge, and face modes respectively. Geometry can be selected by left-clicking, and multiple selections can be made by holding down the shift key.
The shortcuts in edit mode are the same as in object mode. Use “g” to move, “r” to rotate, and “s” to scale. You can lock transformations along a specific axis by pressing the “x”, “y”, or “z” keys. To disregard a specific axis while transforming, hold down “Shift” along with the axis key. Finally, you can delete selected faces, edges, and points with “x”.
Extrude
The first tool on our list of frequently utilized functions is the extrude tool. Pressing the “e” key extrudes the selected vertex, edge, or face will be extruded. Additionally, extrusions can be combined with scaling inward to add complexity to the object. Following these operations, an interesting object can be created.

BEVEL
Another notable tool is the bevel function. Selecting an edge and pressing “Ctrl” + “b” will bevel the edge. Scrolling the mouse wheel will add or remove edges. Additionally, the shape of the bevel can be customized to suit specific preferences.
Inset
The inset tool allows for the shrinking of faces by pressing “i”. Moving the mouse closer to the center shrinks the inset, while moving it away grows it. Pressing “i” again while in inset mode allows for switching between different modes.


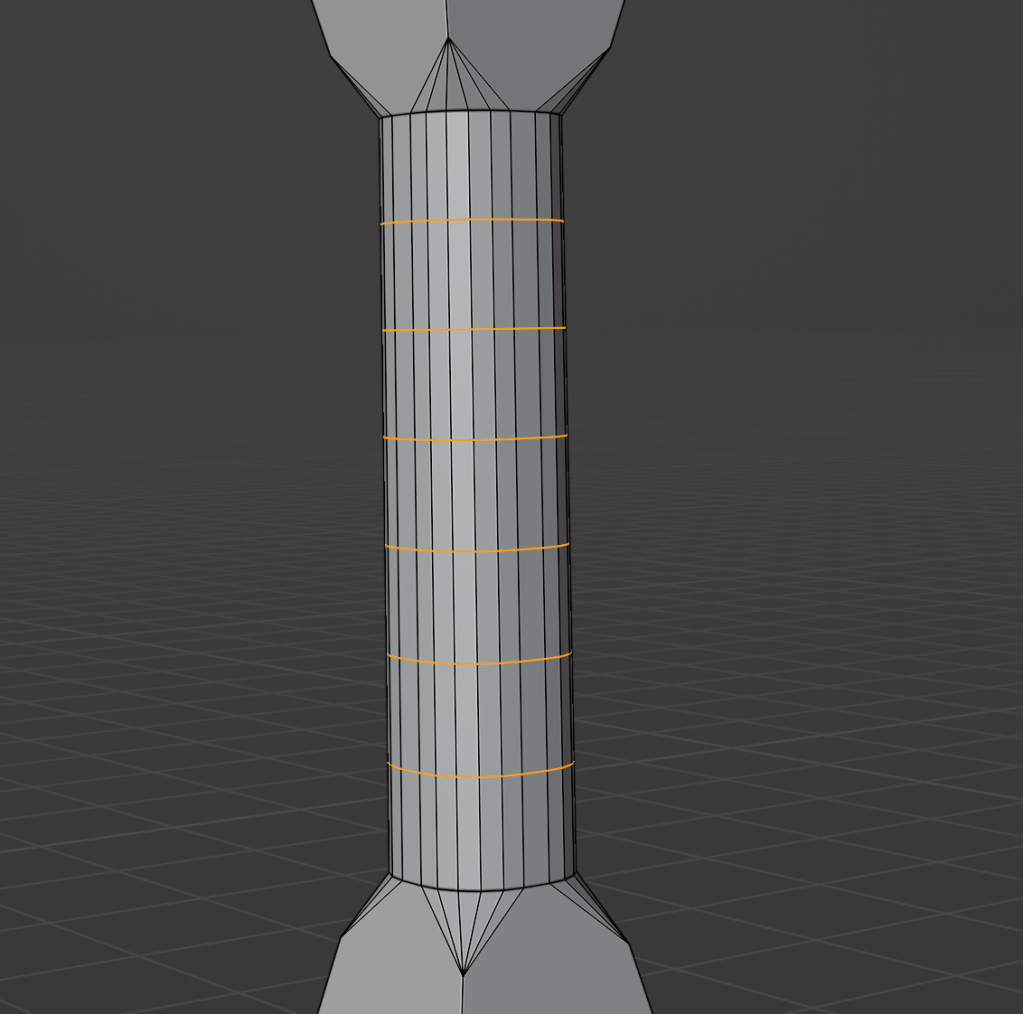
Loop Cut
The final tool on our list is the loop cut. By pressing “Ctrl” + “r”, a series of cuts is generated. Scrolling the mouse adds or removes cuts as needed. The loop cut functions on both edges and faces.
What are Modifiers in Blender
What are Modifiers
Modifiers are the non destructive way of changing an object geometry. These are stackable operations that can alter the geometry by generating, deforming, and physic(ing?).
Array Modifier
The array modifier allows you to create copies of the base object. The most basic array will create a repeating square, but the most advance can create spiraling stairs.

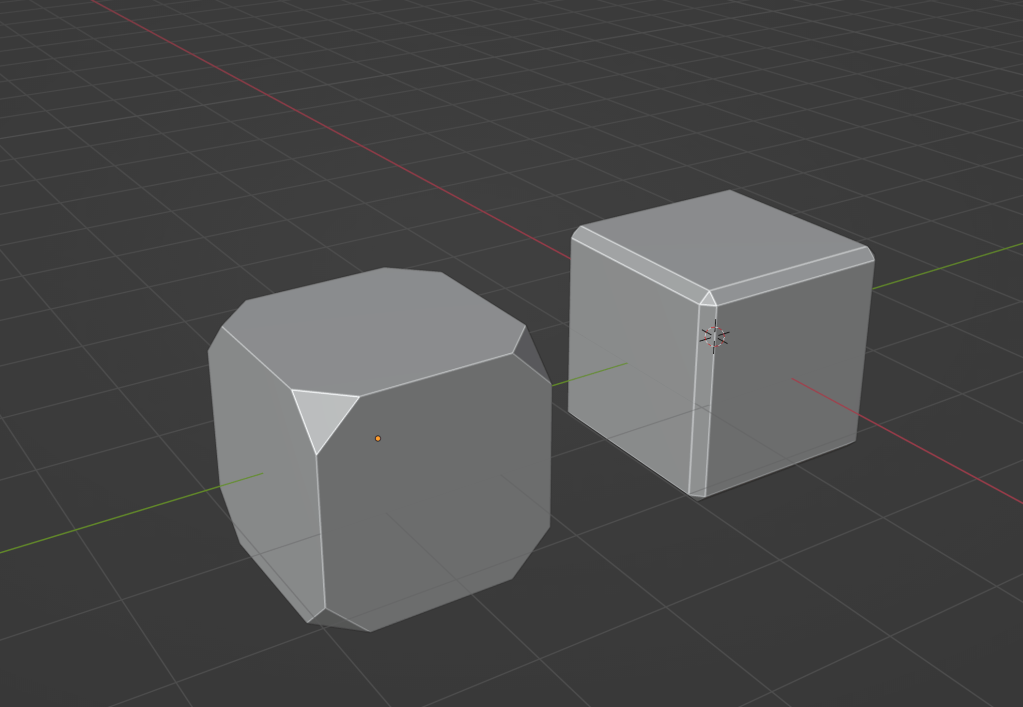
Bevel Modifier
The bevel modifier has the same function as the bevel tool in edit mode, automatically adding bevels around the edges of a 3D mesh. This is useful in smoothening out sharp edges or vertices.
There are 2 types of bevels available, each smoothing out different parts of the mesh. The vertex bevel smoothens out the vertices, resulting in a more rounded appearance. On the other hand, the edge bevel smoothens out the edges, creating softer transitions between faces.
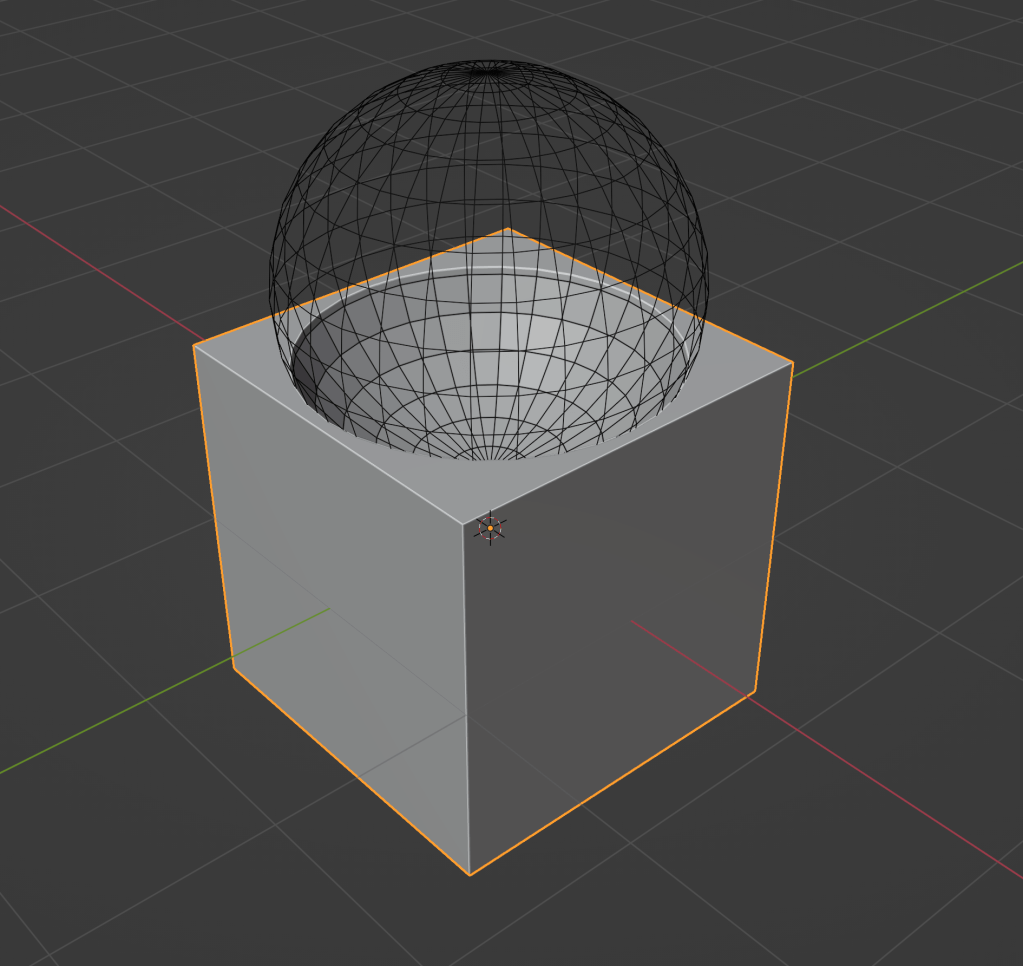
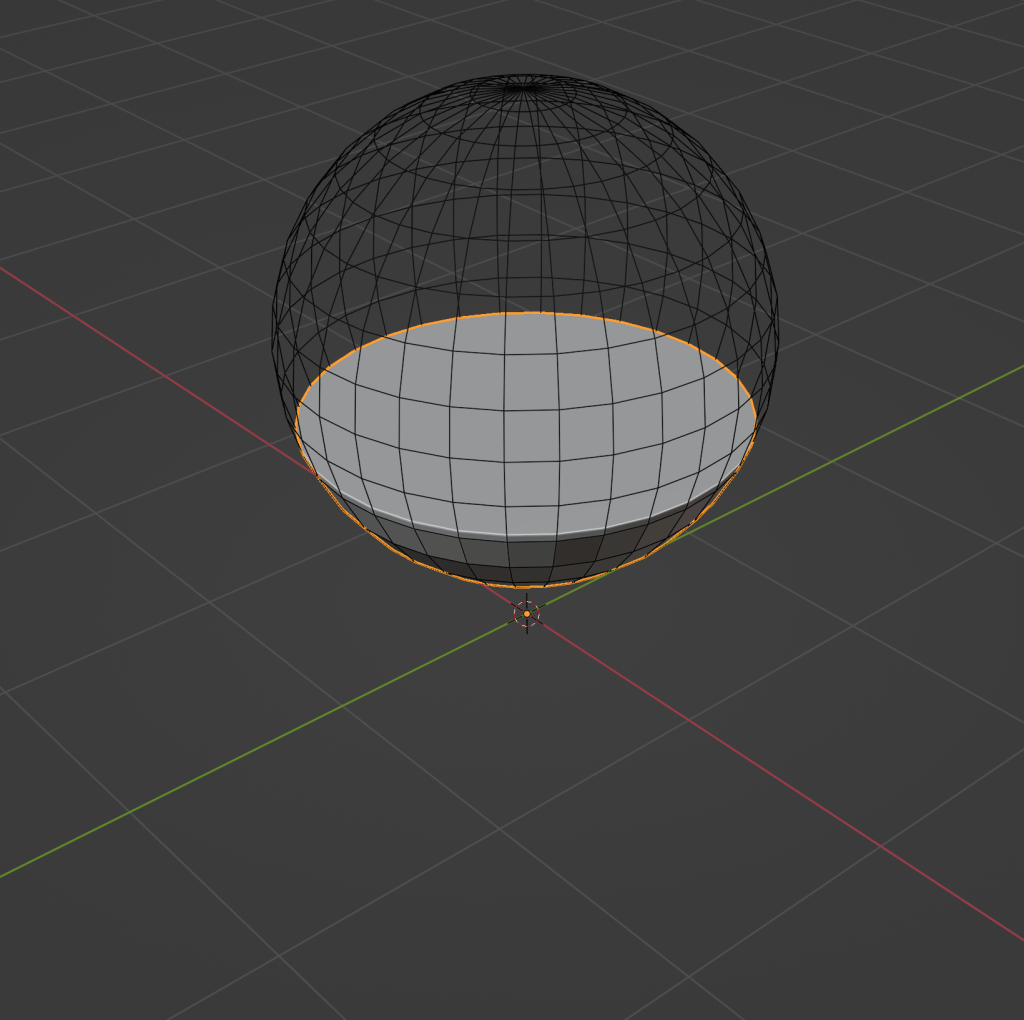
Boolean Modifier
The boolean modifier will remove certain parts of the mesh while using a target object as the template.
There are 3 types of booleans that will each have different cuts. The intersect boolean will remove any parts of the mesh outside of the target object. The union boolean will combine the target object to the mesh, removing any interior faces. The difference boolean will remove any parts of the mesh inside the target object.

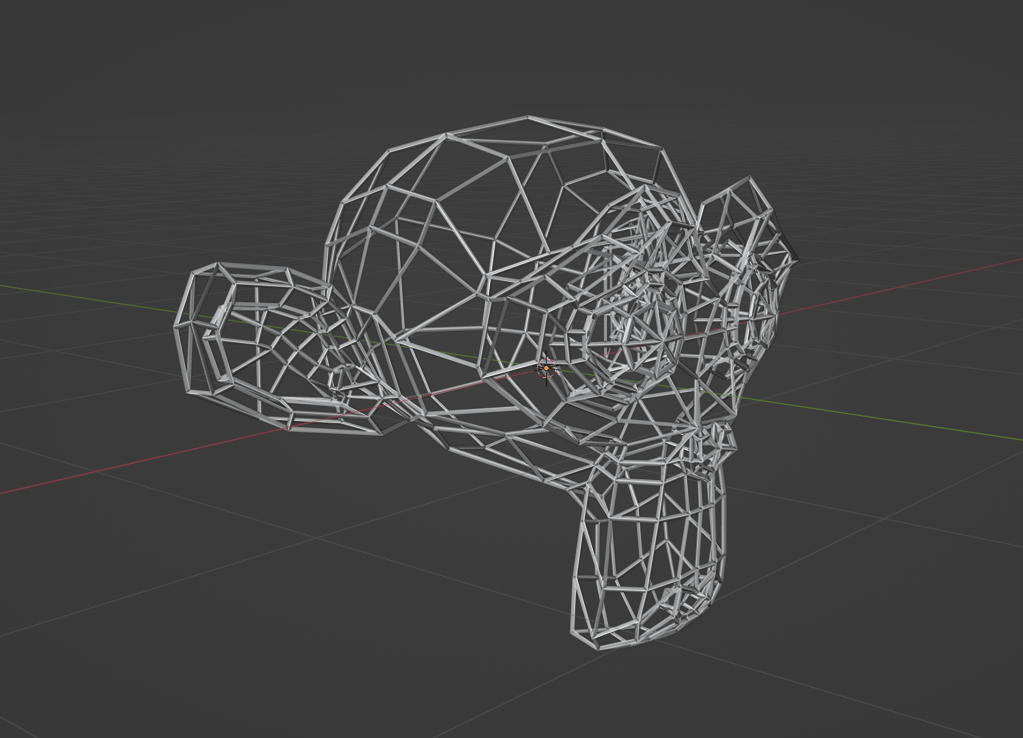
Wireframe modifier
This modifier is often used in the creation of motion graphics. The wireframe modifier will remove all faces and convert the edges into 4-sided polygons.
There are 2 types of wireframes, even and relative. The even wireframe maintains the same thickness. Relative wireframe adjusts the thickness dependent on the length of the edge. Short edges will be thinner than a longer edges.

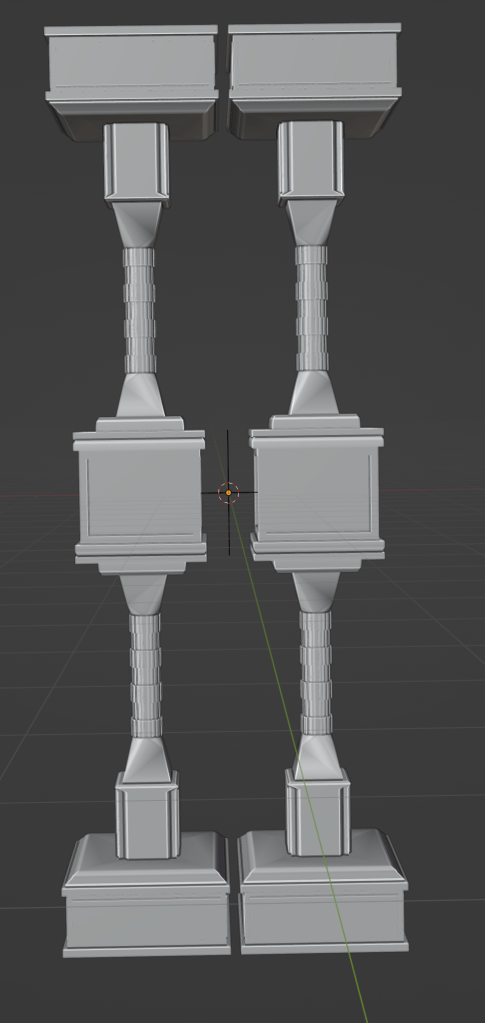
Mirror modifier
The mirror modifier is used to produce symmetric models. Objects can be mirrored across the X, Y, and/or Z axes to achieve symmetry.
Displace modifier
The displace modifier is used to shift parts of the mesh (Note that you will need to subdivide the mesh a bit). This is useful in creating landscape or adding details to materials. The modifier will take a texture as an input, translating it into a black and white image for values on displacement map.

Some free 3D models you can play around with.

Leave a comment